Lucas Rocha: How Android transitions work
13 de Março de 2014, 11:15 - sem comentários aindaOne of the biggest highlights of the Android KitKat release was the new Transitions framework which provides a very convenient API to animate UIs between different states.
The Transitions framework got me curious about how it orchestrates layout rounds and animations between UI states. This post documents my understanding of how transitions are implemented in Android after skimming through the source code for a bit. I’ve sprinkled a bunch of source code links throughout the post to make it easier to follow.
Although this post does contain a few development tips, this is not a tutorial on how to use transitions in your apps. If that’s what you’re looking for, I recommend reading Mark Allison’s tutorials on the topic.
With that said, let’s get started.
The framework
Android’s Transitions framework is essentially a mechanism for animating layout changes e.g. adding, removing, moving, resizing, showing, or hiding views.
The framework is built around three core entities: scene root, scenes, and transitions. A scene root is an ordinary ViewGroup that defines the piece of the UI on which the transitions will run. A scene is a thin wrapper around a ViewGroup representing a specific layout state of the scene root.
Finally, and most importantly, a transition is the component responsible for capturing layout differences and generating animators to switch UI states. The execution of any transition always follows these steps:
- Capture start state
- Perform layout changes
- Capture end state
- Run animators
The process as a whole is managed by the TransitionManager but most of the steps above (except for step 2) are performed by the transition. Step 2 might be either a scene switch or an arbitrary layout change.
How it works
Let’s take the simplest possible way of triggering a transition and go through what happens under the hood. So, here’s a little code sample:
TransitionManager.beginDelayedTransition(sceneRoot);

View child = sceneRoot.findViewById(R.id.child);
LayoutParams params = child.getLayoutParams();
params.width = 150;
params.height = 25;
child.setLayoutParams(params);
This code triggers an AutoTransition on the given scene root animating child to its new size.
The first thing the TransitionManager will do in beingDelayedTransition() is checking if there is a pending delayed transition on the same scene root and just bail if there is onecode. This means only the first beingDelayedTransition() call within the same rendering frame will take effect.
Next, it will reuse a static AutoTransition instancecode. You could also provide your own transition using a variant of the same method. In any case, it will always clonecode the given transition instance to ensure a fresh startcode—consequently allowing you to safely reuse Transition instances across beingDelayedTransition() calls.
It then moves on to capturing the start statecode. If you set target view IDs on your transition, it will only capture values for thosecode. Otherwise it will capture the start state recursively for all views under the scene rootcode. So, please, set target views on all your transitions, especially if your scene root is a deep container with tons of children.
An interesting detail here: the state capturing code in Transition has especial treatment for ListViews using adapters with stable IDscode. It will mark the ListView children as having transient state to avoid them to be recycled during the transition. This means you can very easily perform transitions when adding or removing items to/from a ListView. Just call beginDelayedTransition() before updating your adapter and an AutoTransition will do the magic for you—see this gist for a quick sample.
The state of each view taking part in a transition is stored in TransitionValues instances which are essentially a Map with an associated Viewcode. This is one part of the API that feels a bit hand wavy. Maybe TransitionValues should have been better encapsulated?
Transition subclasses fill the TransitionValues instances with the bits of the View state that they’re interested in. The ChangeBounds transition, for example, will capture the view bounds (left, top, right, bottom) and location on screencode.
Once the start state is fully captured, beginDelayedTransition() will exit whatever previous scene was set in the scene rootcode, set current scene to nullcode (as this is not a scene switch), and finally wait for the next rendering framecode.
TransitionManager waits for the next rendering frame by adding an OnPreDrawListenercode which is invoked once all views have been properly measured and laid out, and are ready to be drawn on screen (Step 2). In other words, when the OnPreDrawListener is triggered, all the views involved in the transition have their target sizes and positions in the layout. This means it’s time to capture the end state (Step 3) for all of themcode—following the same logic than the start state capturing described before.
With both the start and end states for all views, the transition now has enough data to animate the views aroundcode. It will first update or cancel any running transitions for the same viewscode and then create new animators with the new TransitionValuescode (Step 4).
The transitions will use the start state for each view to “reset” the UI to its original state before animating them to their end state. This is only possible because this code runs just before the next rendering frame is drawn i.e. inside an OnPreDrawListener.
Finally, the animators are startedcode in the defined order (together or sequentially) and magic happens on screen.
Switching scenes
The code path for switching scenes is very similar to beginDelayedTransition()—the main difference being in how the layout changes take place.
Calling go() or transitionTo() only differ in how they get their transition instance. The former will just use an AutoTransition and the latter will get the transition defined by the TransitionManager e.g. toScene and fromScene attributes.
Maybe the most relevant of aspect of scene transitions is that they effectively replace the contents of the scene root. When a new scene is entered, it will remove all views from the scene root and then add itself to itcode.
So make sure you update any class members (in your Activity, Fragment, custom View, etc.) holding view references when you switch to a new scene. You’ll also have to re-establish any dynamic state held by the previous scene. For example, if you loaded an image from the cloud into an ImageView in the previous scene, you’ll have to transfer this state to the new scene somehow.
Some extras
Here are some curious details in how certain transitions are implemented that are worth mentioning.
The ChangeBounds transition is interesting in that it animates, as the name implies, the view bounds. But how does it do this without triggering layouts between rendering frames? It animates the view frame (left, top, right, and bottom) which triggers size changes as you’d expect. But the view frame is reset on every layout() call which could make the transition unreliable. ChangeBounds avoids this problem by suppressing layout changes on the scene root while the transition is runningcode.
The Fade transition fades views in or out according to their presence and visibility between layout or scene changes. Among other things, it fades out the views that have been removed from the scene root, which is an interesting detail because those views will not be in the tree anymore on the next rendering frame. Fade temporarily adds the removed views to the scene root‘s overlay to animate them out during the transitioncode.
Wrapping up
The overall architecture of the Transitions framework is fairly simple—most of the complexity is in the Transition subclasses to handle all types of layout changes and edge cases.
The trick of capturing start and end states before and after an OnPreDrawListener can be easily applied outside the Transitions framework—within the limitations of not having access to certain private APIs such as ViewGroup‘s supressLayout()code.
As a quick exercise, I sketched a LinearLayout that animates layout changes using the same technique—it’s just a quick hack, don’t use it in production! The same idea could be applied to implement transitions in a backwards compatible way for pre-KitKat devices, among other things.
That’s all for now. I hope you enjoyed it!
Fábio Nogueira: Papeis de parede vencedores para o Ubuntu GNOME 14.04
10 de Março de 2014, 13:55 - sem comentários aindaO concurso de papeis de parede para o Ubuntu GNOME 14.04 chegou ao fim!
Conheça agora os 10 vencedores (Clique nas fotos para ampliar):


Agradeço a todos pela participação. Até a próxima!
Obs.: Este post é melhor visualizado acessando direto da fonte: Blog do Ubuntuser
Fábio Nogueira: Concurso de papeis de parede do Ubuntu GNOME: Etapa final
5 de Março de 2014, 23:35 - sem comentários aindaHá alguns dias atrás eu havia convocado a todos para colaborar com fotos para o concurso de papeis de parede do Ubuntu GNOME 14.04. Agora tenho o prazer de convidar vocês agora para a etapa final do concurso de papeis de parede do Ubuntu GNOME! Chegou a hora de escolher os melhores papeis de parede que serão utilizados na versão final do Ubuntu GNOME 14.04.
A votação se dará até o dia 09/03/2014. Dentre os papeis de parede, escolha os 10 (dez) melhores, esta será a quantidade finalista!
Para votar, basta clicar no botão abaixo:
Concurso de melhores papeis de paredeEm breve anunciarei aqui os grandes vencedores! Desde já, eu e o Time de arte do Ubuntu GNOME agradecemos o seu voto!
Obs.: Este post é melhor visualizado acessando direto da fonte: Blog do Ubuntuser
Gustavo Noronha (kov): Entenda o systemd vs upstart
14 de Fevereiro de 2014, 23:29 - sem comentários aindaOriginalmente publicado no PoliGNU.
Por quê mudar?
Upstart
Systemd
kov@melancia ~> systemctl status mariadb.service
mariadb.service - MariaDB database server
Loaded: loaded (/usr/lib/systemd/system/mariadb.service; disabled)
Active: active (running) since Seg 2014-02-03 23:00:59 BRST; 1 weeks 3 days ago
Process: 6461 ExecStartPost=/usr/libexec/mariadb-wait-ready $MAINPID (code=exited, status=0/SUCCESS)
Process: 6431 ExecStartPre=/usr/libexec/mariadb-prepare-db-dir %n (code=exited, status=0/SUCCESS)
Main PID: 6460 (mysqld_safe)
CGroup: /system.slice/mariadb.service
        ├─6460 /bin/sh /usr/bin/mysqld_safe --basedir=/usr
        └─6650 /usr/libexec/mysqld --basedir=/usr --datadir=/var/lib/mysql --plugin-dir=/usr/lib64/mysql/plug...
	Fev 03 23:00:57 melancia mysqld_safe[6460]: 140203 23:00:57 mysqld_safe Logging to /var/log/mariadb/mariadb.log.
	Fev 03 23:00:57 melancia mysqld_safe[6460]: 140203 23:00:57 mysqld_safe Starting mysqld daemon with databas...mysql
	Fev 03 23:00:59 melancia systemd[1]: Started MariaDB database server.
	Hint: Some lines were ellipsized, use -l to show in full.
A questão de licenciamento
Futuro
Fábio Nogueira: Concurso de papéis de parede do Ubuntu GNOME
20 de Janeiro de 2014, 13:14 - sem comentários aindaO time de arte do Ubuntu GNOME resolveu incluir papéis de parede da comunidade para o lançamento do Trusty Tahr (14.04). Chegou a hora de você colaborar para embelezar ainda mais o Desktop de milhões de usuários nesta próxima versão do Ubuntu GNOME. ![]()
Instruções
Algumas instruções devem ser seguidas para o concurso:
- Sem marcas comerciais, nome de marcas, armas, violência, imagens pornográficas ou sexualmente explícitas;
- Evitar imagens de movimentos, e também de com muitas formas e cores;
- Pode ser utilizado um único ponto de foco;
- Os elementos do GNOME Shell devem ser levados em consideração durante a criação;
- A dimensão final deverá ser de 2560 x 1600 pixels;
Processo de envio
O processo de envio será através da Wiki do Ubuntu, então basta ter uma conta no Launchpad! O que você está esperando para começar a enviar a sua obra de arte? Para maiores informações sobre como é todo esse processo, basta clicar nos botões abaixo:
Como enviar | Página de envioFelipe Borges: Bye 2013! Happy 2014!
3 de Janeiro de 2014, 16:38 - sem comentários aindaWhen a new year comes, it’s time to reflect (not regret) and set up new goals.
With this in mind, I have to say that last year was the best year ever… so far! I have attended FISL 14 in Porto Alegre, GUADEC in Czech Republic and gave a lot of talks. Speaking of that, I forgot to blog about the talk I gave at Latinoware which was an introduction to GNOME Application Development with Javascript (Gjs). And after that, I was invited to give a short introduction to Free Software and share my experiences as a student developing FOSS (mentioning my Google Summer of Code participation in 2012 and my involvement with the GNOME community) at my university. Everything was a blast!
For 2014, I want to intensify my GNOME contributions, read 50 books, graduate o/*, and (after that) find a first job. ![]()
Lucas Rocha: Reconnecting
1 de Janeiro de 2014, 20:09 - sem comentários aindaI’m just back from a well deserved 2-week vacation in Salvador—the city where I was born and raised. While in Brazil, I managed to stay (mostly) offline. I intentionally left all my gadgetry at home. No laptop, no tablet. Only an old-ish smartphone with no data connection.
Offline breaks are very refreshing. They give you perspective. I feel we, from tech circles, are always too distracted, too busy, too close to these things.
Stepping back is important. Idle time is as important as productive time. The world already has enough bullshit. Let’s not make it worse.
Here’s for a more thoughtful, mindful, and meaningful online experience for all of us. Happy new year!
Jonh Wendell: Parasite, wake up!
18 de Dezembro de 2013, 15:10 - sem comentários aindaHi there!
In the last weeks I’ve been working on GTK+ themes, customizing some apps, and I missed the tools we have on the web world that allow us to to some live editing on CSS.
I remembered we had Parasite, a tool similar to Firebug, but for GTK+ apps. Unfortunately it didn’t support CSS tweaking. But it does now! I’ve made some improvements on it mainly to allow live editing of CSS, but not limited to that.
Some changes so far:
- Live editing of CSS, for the whole application, or only for the selected widget
- Ability to add/remove a CSS class for a specific widget. (Editing of pseudo-classes like :hover is planned)
- In the Property inspector, if a property itself is another Object, we can also inspect it. (For example, you can inspect a Buffer inside a TextView)
- A bit of UI change
I have made a small video showing the improvements:
Link to the video
The code is on the usual place, github: https://github.com/chipx86/gtkparasite
Please, test it and file bugs/wishes/pull requests. /me is now wearing the maintainer hat ![]()
Note: it requires GTK+ 3.10 (and optionally python+gobject introspection for the python shell)
Fábio Nogueira: Wireless Realtek RTL8188CE e RTL8192CE no Ubuntu
18 de Dezembro de 2013, 13:35 - sem comentários aindaEssa dica vai para quem tem notebooks Presario, Toshiba, etc… Vamos instalar a sua placa de rede Wifi?
Primeiramente, confirme a versão do seu kernel, executando no seu terminal:
uname -r
Caso a versão do mesmo, seja uma das versões informadas acima, vamos então dar continuidade ao processo.
1. Clonar o diretório do GIT. Caso não tenha o git instalado na sua máquina, execute:
sudo apt-get install git
2. Agora, vamos clonar (É feita uma cópia do código fonte para a sua máquina):
cd ~ && git clone https://github.com/FreedomBen/rtl8188ce-linux-driver.git
Note que foi criada uma pasta chamada rtl8188ce-linux-driver na pasta do seu usuário.
3. Instalar as dependências de compilação (preste atenção aos crases!):
sudo apt-get install gcc build-essential linux-headers-generic linux-headers-`uname -r`
4. Acesse o diretório e vamos começar a compilar:
cd ~/rtl8188ce-linux-driver && make
Obs.: Caso seja informado algum erro, confirme se o branch é realmente o da sua versão. Por exemplo: Se a sua versão do Ubuntu for a 13.10, execute:
git checkout ubuntu-13.10
Após executar o checkout para o branch correto da sua versão, execute o passo 4 novamente.
5. Instale:
sudo make install
6. Ative (modprobe) o novo driver:
sudo modprobe rtl8192ce
(Este é o driver da rtl8188ce também)
7. Você pode precisar modprobe volta nos outros módulos também. Basta repetir o passo 6, alterando para os:
rtl8192ce, rtlwifi, e rtl8192c_common
Torne permanente, adicionando isto ao final do /etc/modules:
rtl8192ce.ko
Para editar e acrescentar a linha acima no /etc/modules, execute:
sudo gedit /etc/modules
Pronto! Placa de rede instalada. Reinicie o sistema e voilá!
Agradecimentos especiais a FreedomBen
Gustavo Noronha (kov): WebKitGTK+ hackfest 5.0 (2013)!
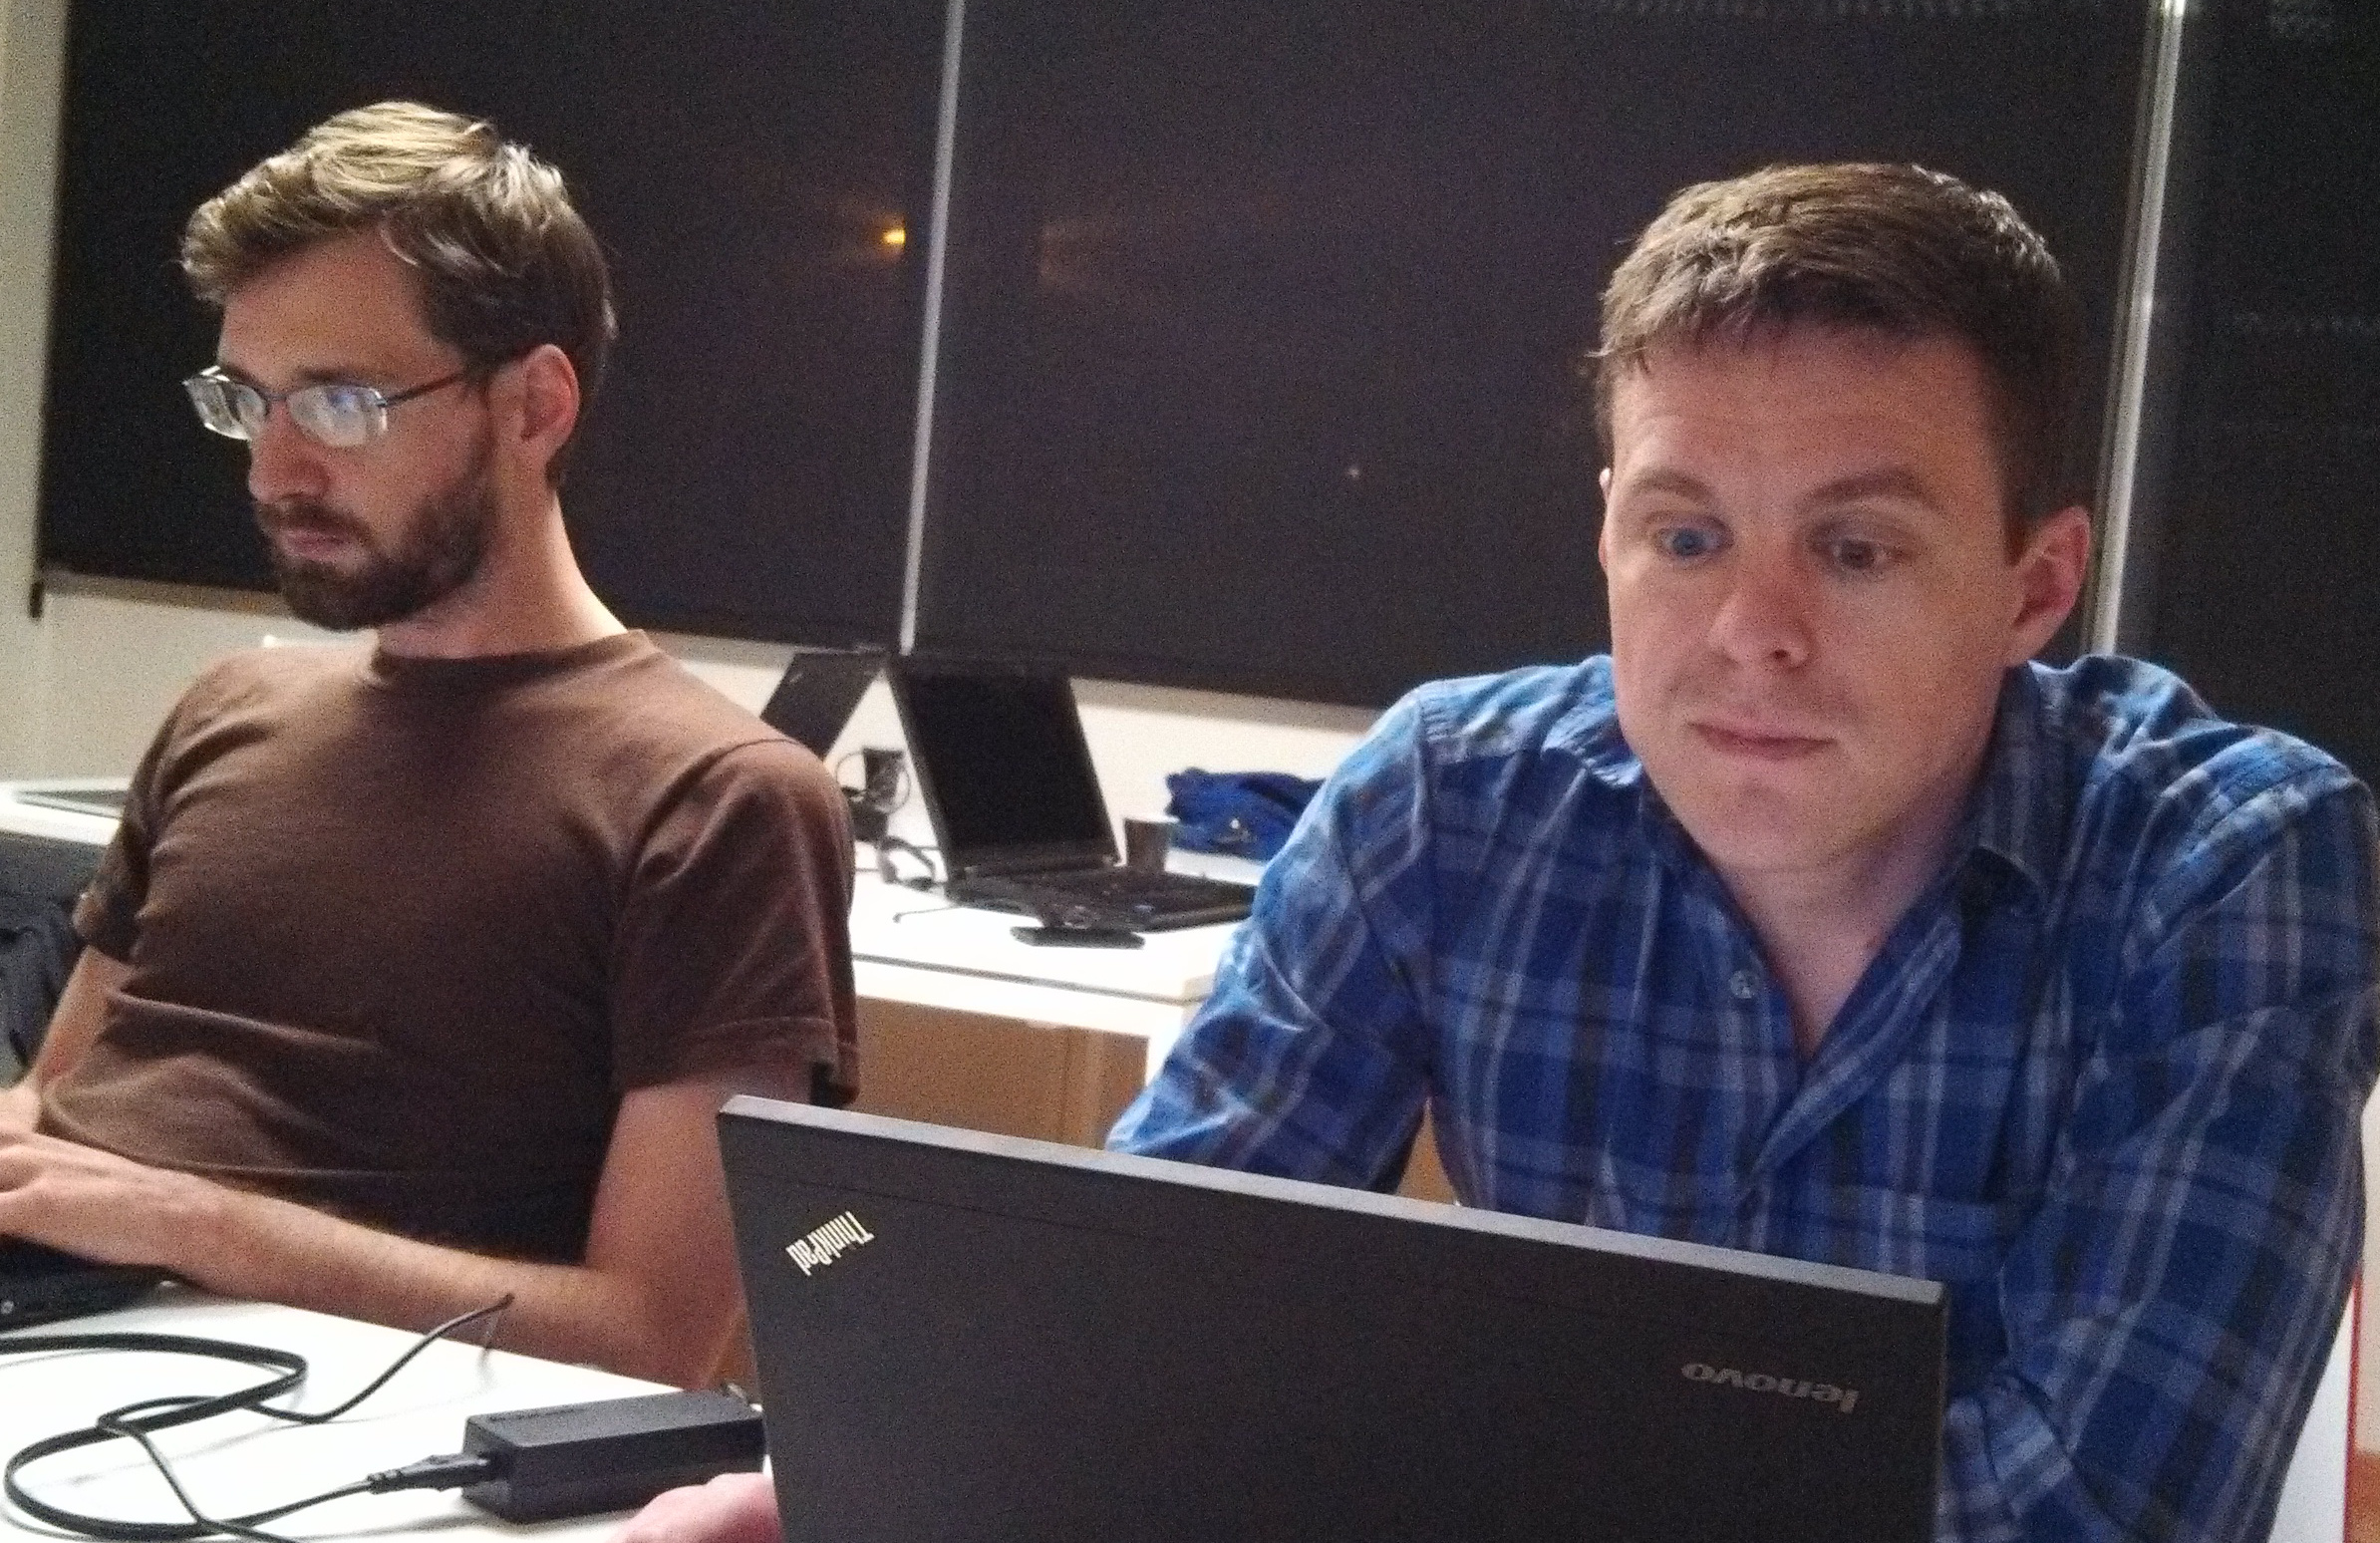
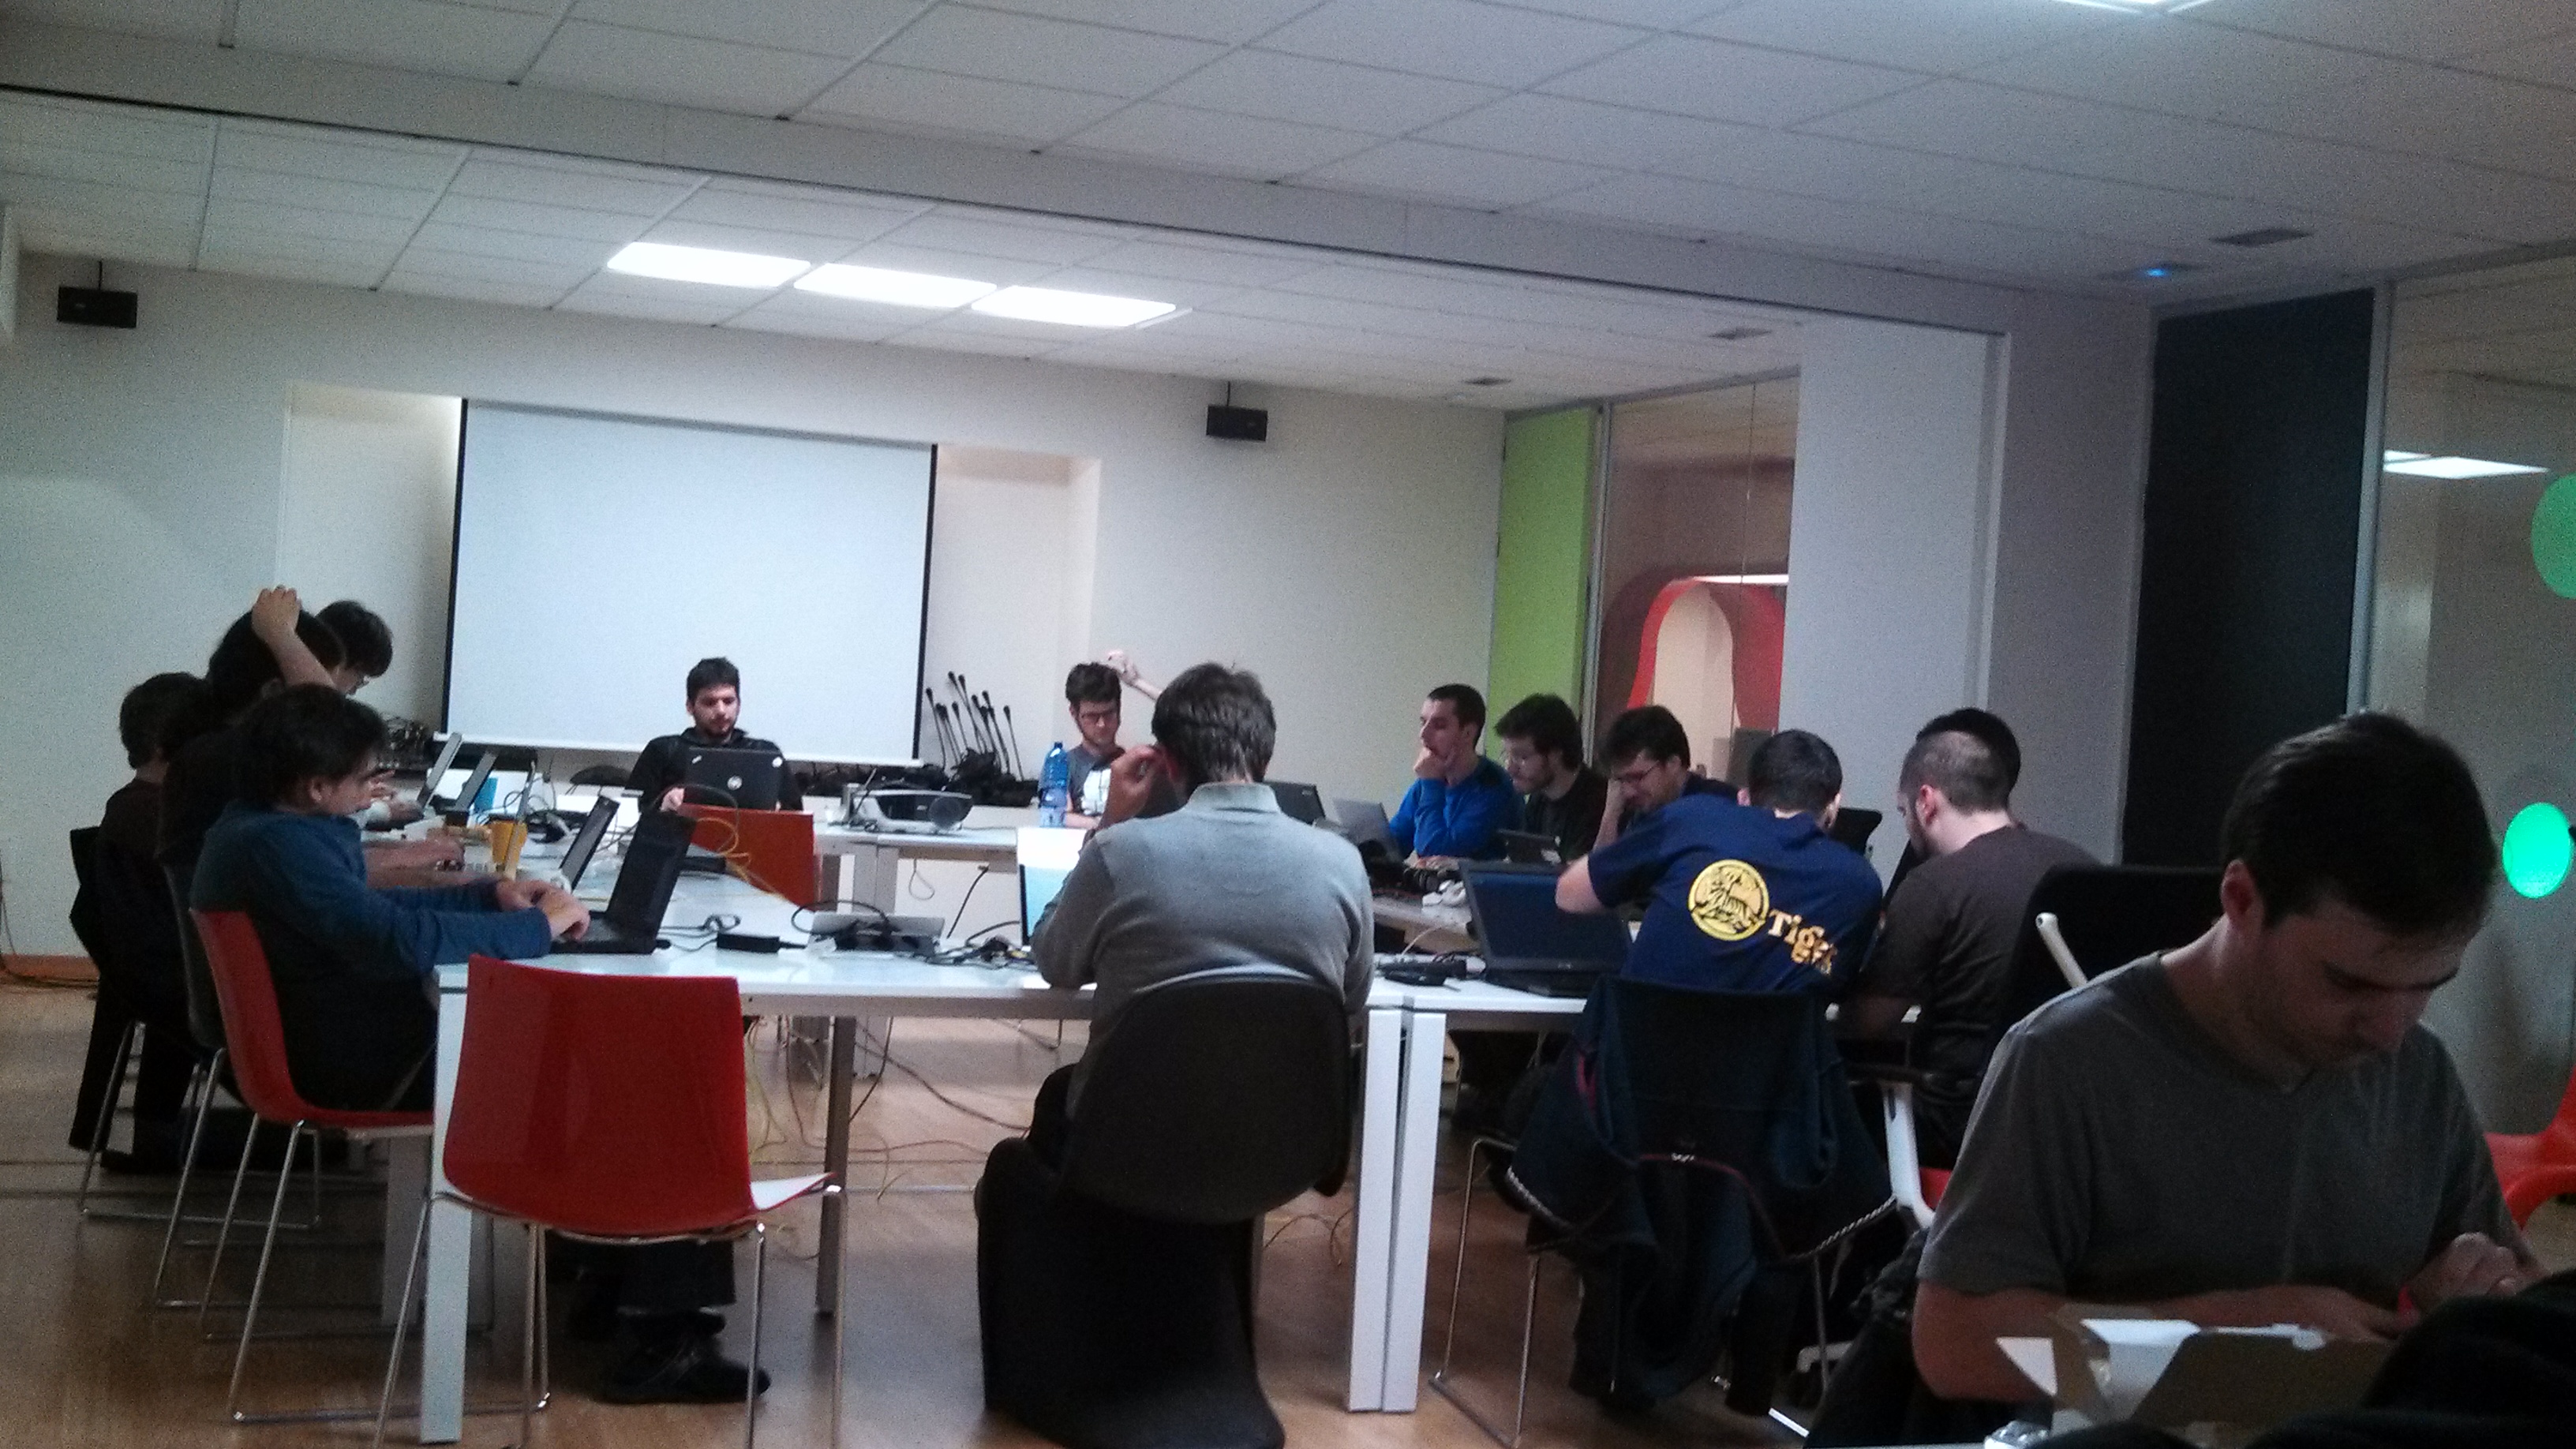
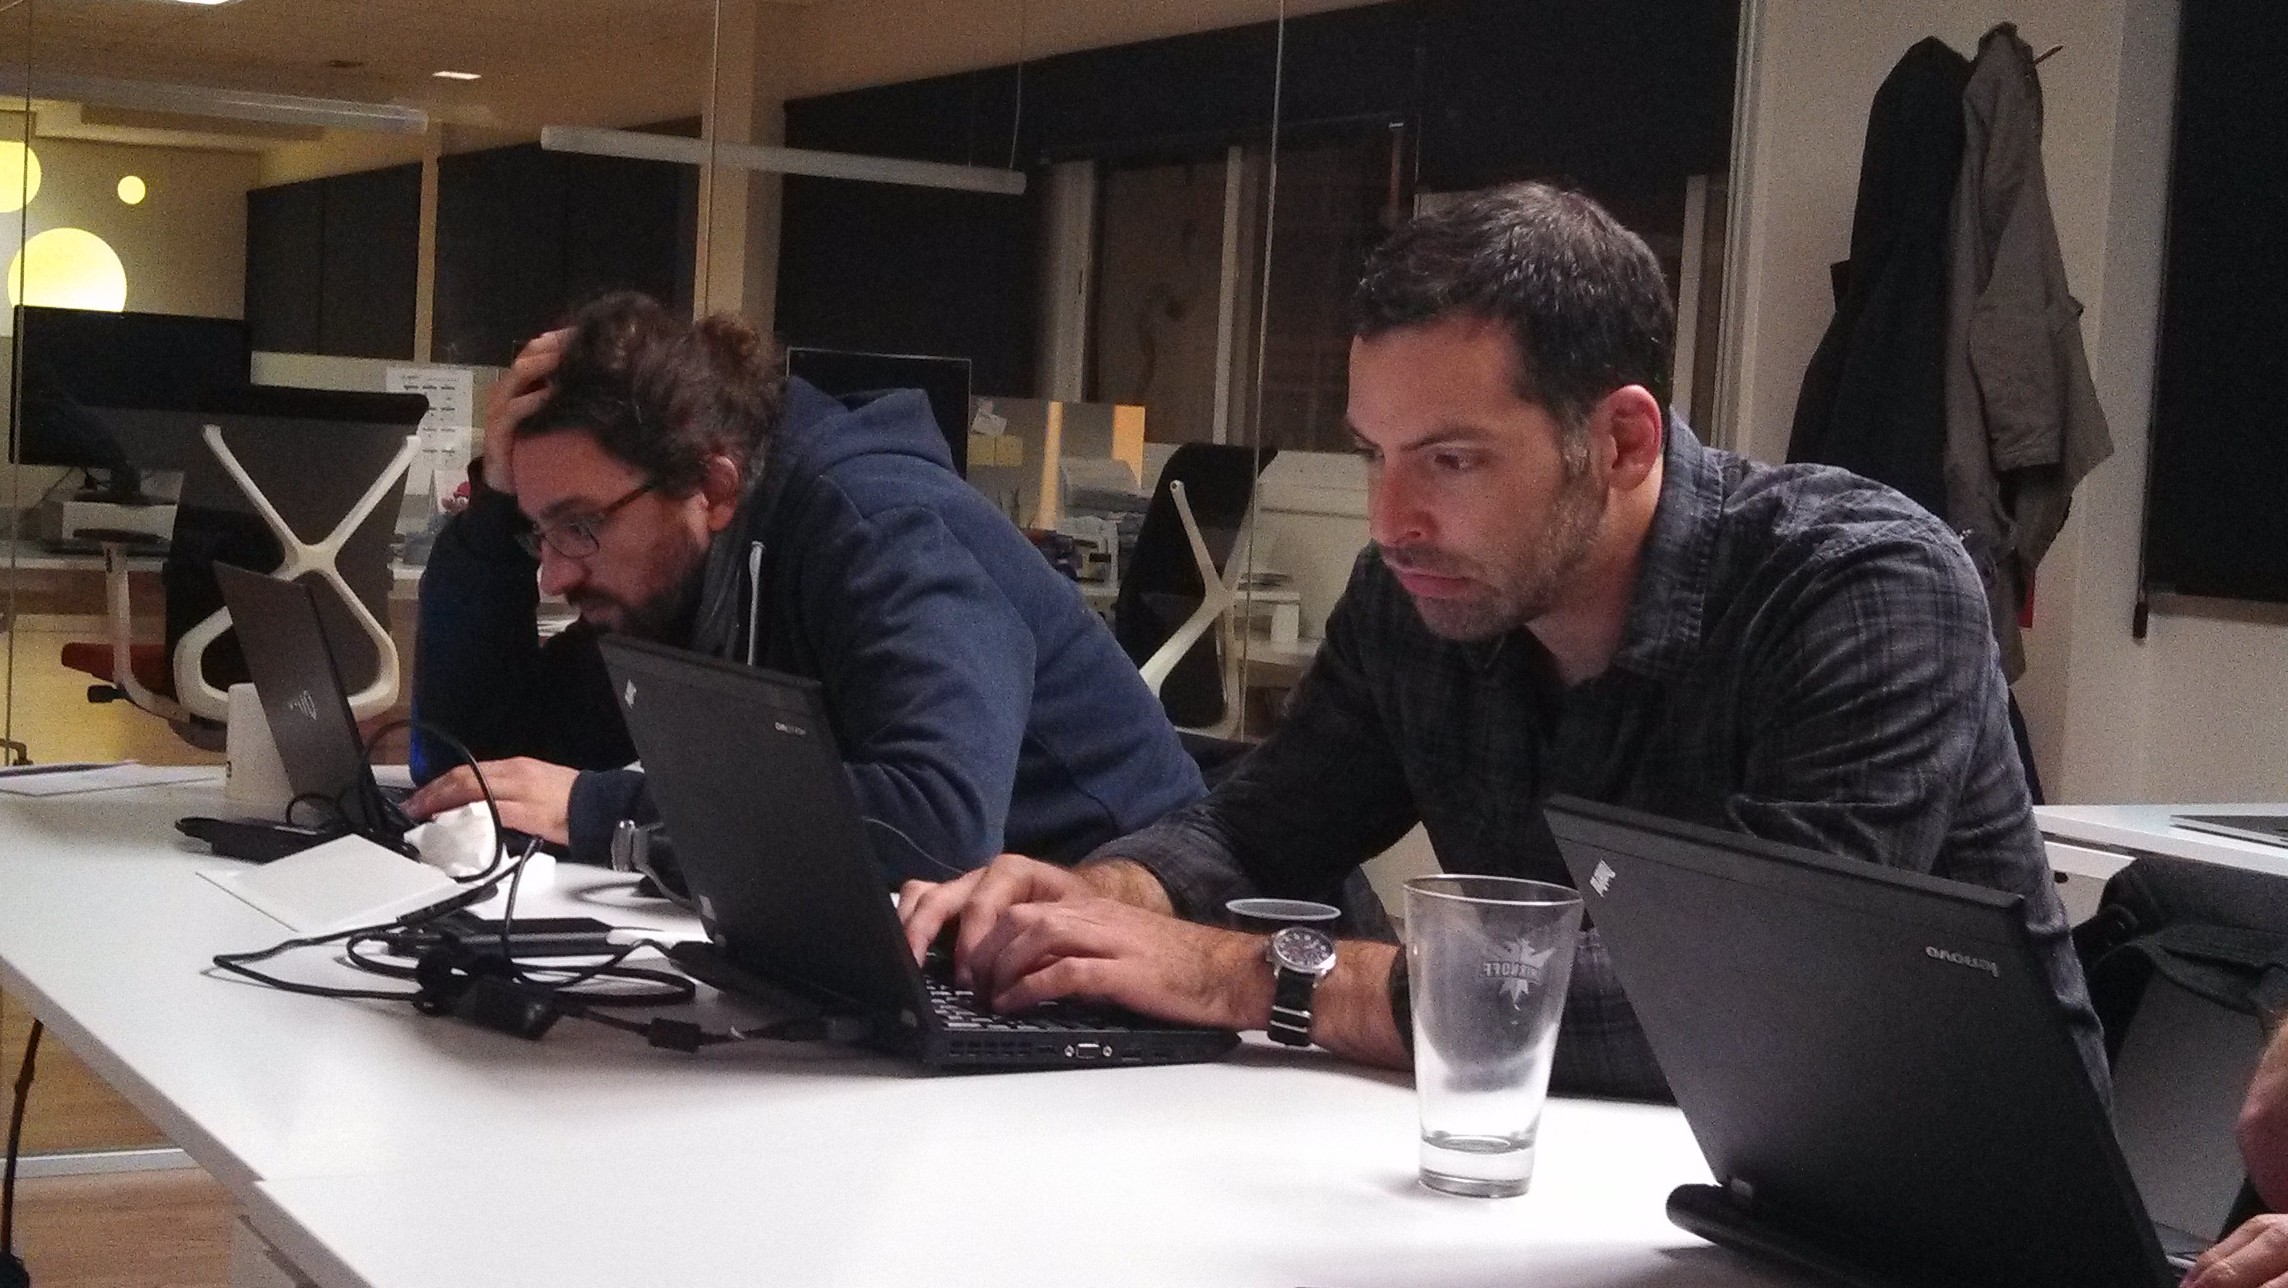
11 de Dezembro de 2013, 7:47 - sem comentários aindaFor the fifth year in a row the fearless WebKitGTK+ hackers have gathered in A Coruña to bring GNOME and the web closer. Igalia has organized and hosted it as usual, welcoming a record 30 people to its office. The GNOME foundation has sponsored my trip allowing me to fly the cool 18 seats propeller airplane from Lisbon to A Coruña, which is a nice adventure, and have pulpo a feira for dinner, which I simply love! That in addition to enjoying the company of so many great hackers.
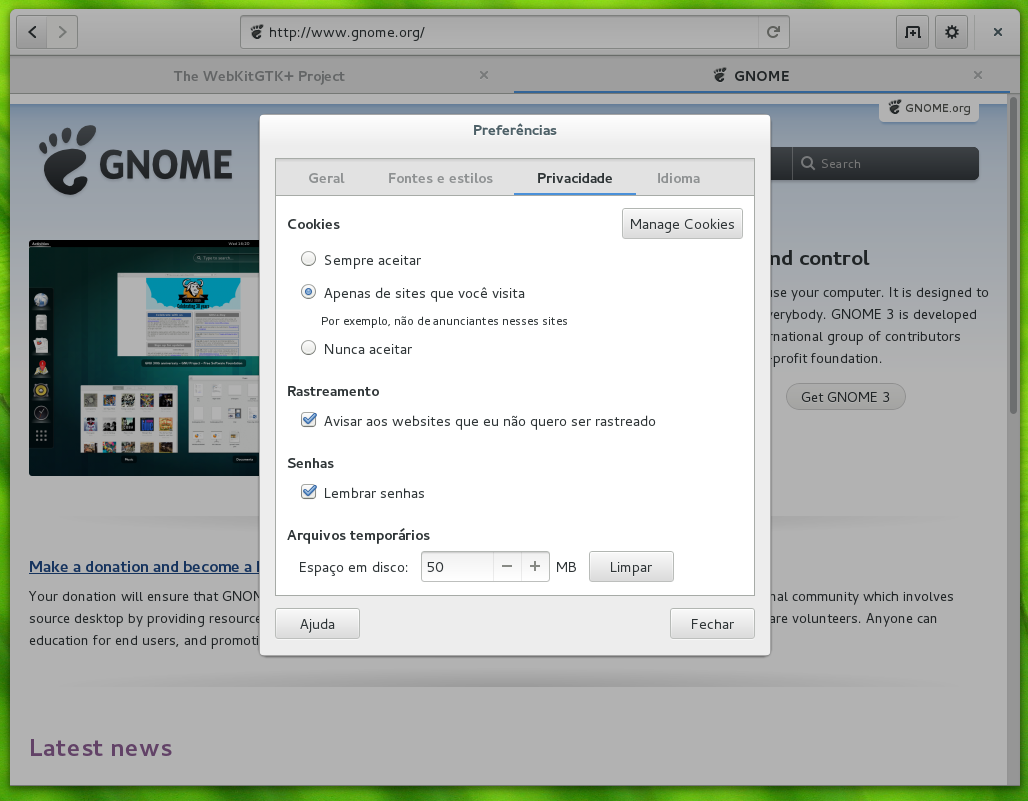
The goals for the hackfest have been ambitious, as usual, but we made good headway on them. Web the browser (AKA Epiphany) has seen a ton of little improvements, with Carlos splitting the shell search provider to a separate binary, which allowed us to remove some hacks from the session management code from the browser. It also makes testing changes to Web more convenient again. Jon McCan has been pounding at Web’s UI making it more sleek, with tabs that expand to make better use of available horizontal space in the tab bar, new dialogs for preferences, cookies and password handling. I have made my tiny contribution by making it not keep tabs that were created just for what turned out to be a download around. For this last day of hackfest I plan to also fix an issue with text encoding detection and help track down a hang that happens upon page load.
Martin Robinson and myself have as usual dived into the more disgusting and wide-reaching maintainership tasks that we have lots of trouble pushing forward on our day-to-day lives. Porting our build system to CMake has been one of these long-term goals, not because we love CMake (we don’t) or because we hate autotools (we do), but because it should make people’s lives easier when adding new files to the build, and should also make our build less hacky and quicker – it is sad to see how slow our build can be when compared to something like Chromium, and we think a big part of the problem lies on how complex and dumb autotools and make can be. We have picked up a few of our old branches, brought them up-to-date and landed, which now lets us build the main WebKit2GTK+ library through cmake in trunk. This is an important first step, but there’s plenty to do.
Under the hood, Dan Winship has been pushing HTTP2 support for libsoup forward, with a dead-tree version of the spec by his side. He is refactoring libsoup internals to accomodate the new code paths. Still on the HTTP front, I have been updating soup’s MIME type sniffing support to match the newest living specification, which includes specification for several new types and a new security feature introduced by Internet Explorer and later adopted by other browsers. The huge task of preparing the ground for a one process per tab (or other kinds of process separation, this will still be topic for discussion for a while) has been pushed forward by several hackers, with Carlos Garcia and Andy Wingo leading the charge.
Other than that I have been putting in some more work on improving the integration of the new Web Inspector with WebKitGTK+. Carlos has reviewed the patch to allow attaching the inspector to the right side of the window, but we have decided to split it in two, one providing the functionality and one the API that will allow browsers to customize how that is done. There’s a lot of work to be done here, I plan to land at least this first patch durign the hackfest. I have also fought one more battle in the never-ending User-Agent sniffing war, in which we cannot win, it looks like.
I am very happy to be here for the fifth year in a row, and I hope we will be meeting here for many more years to come! Thanks a lot to Igalia for sponsoring and hosting the hackfest, and to the GNOME foundation for making it possible for me to attend! See you in 2014!


